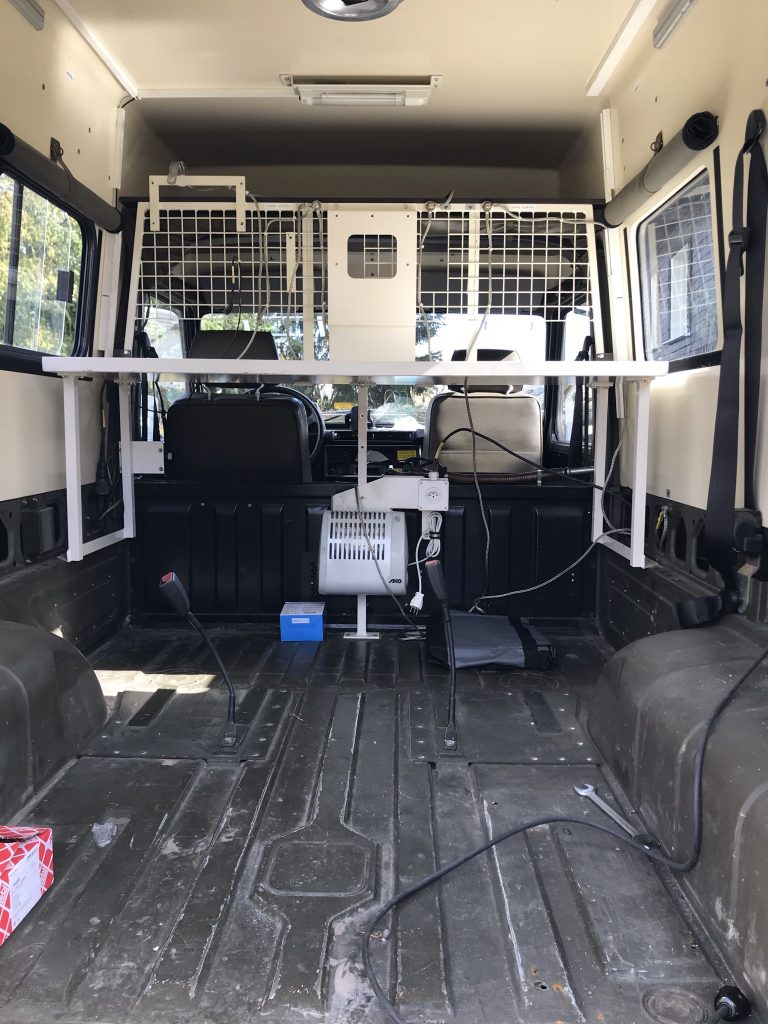
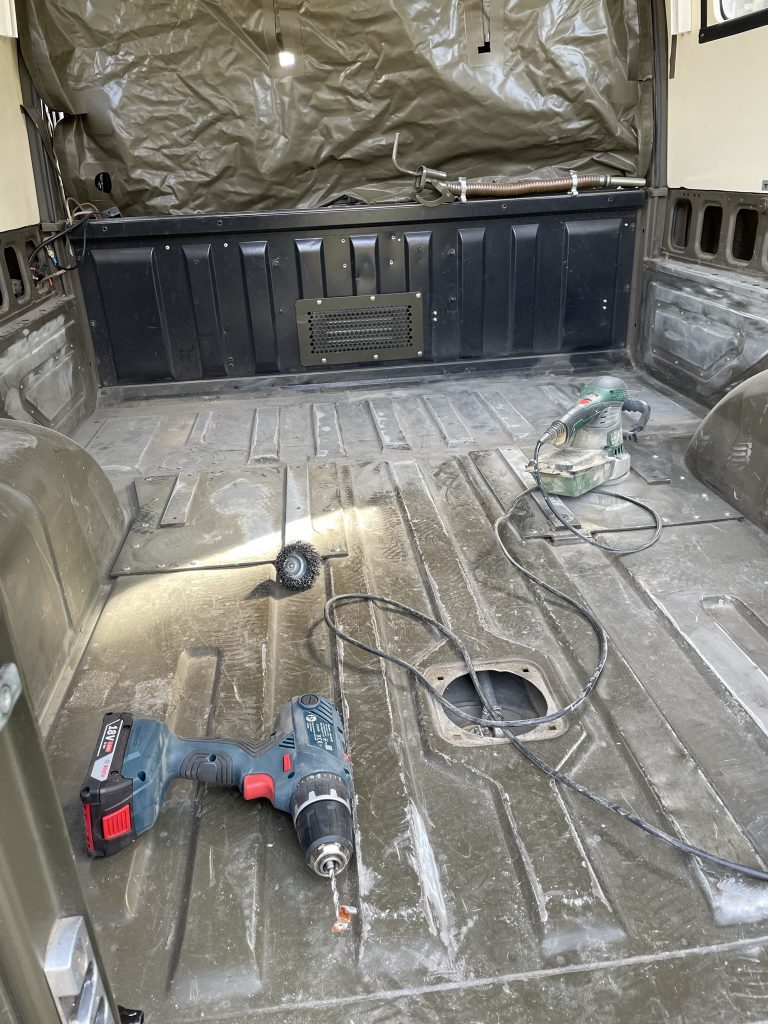
We bought our Puch in Erfurt at GFG. It is a Puch 230 GE with a high roof from 1996. Inside, the car looks exactly as it was last used by the Swiss military: two back seats, a table, a partition grid to the driver's area, and some metal racks. Before we start the conversion, all of this has to be removed. Stripping the camper is on our agenda. Some parts can be unscrewed, others must be drilled out. It takes a lot of time and nerves. We dispose the many metal stands, walls, tables. We keep the two back seats.
Note: Links marked with an * are affiliate links. If you purchase something through this link, we receive a small commission. The price remains the same for you.
The Vehicle Floor – Sanding, Treating Rust, and Painting
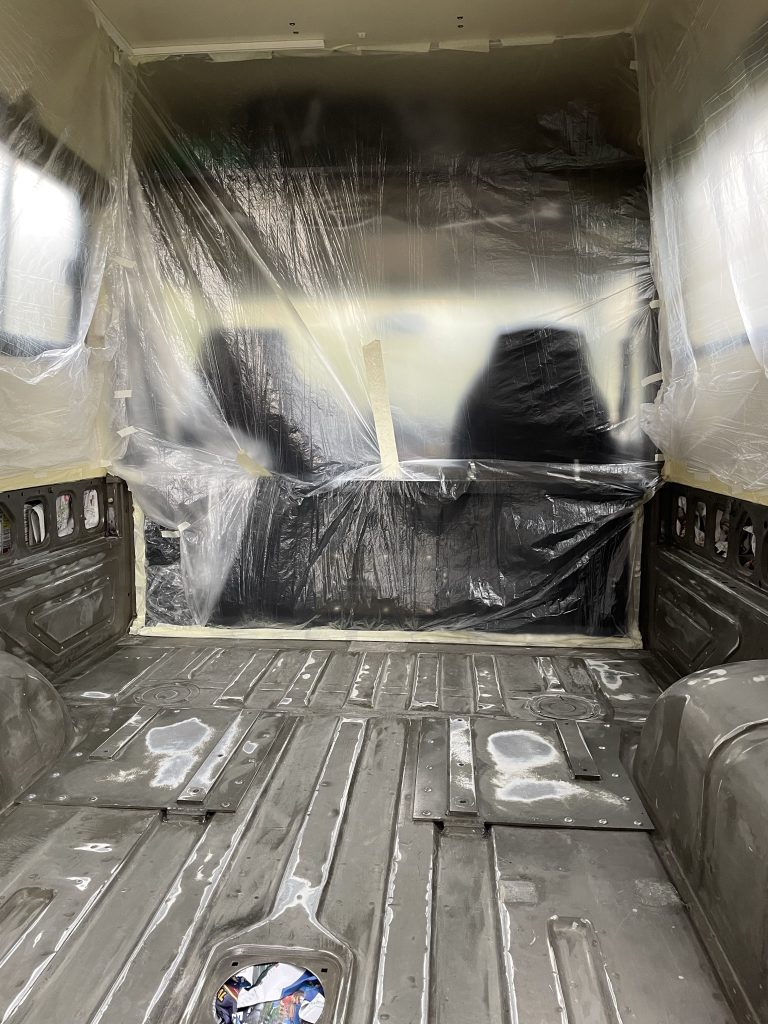
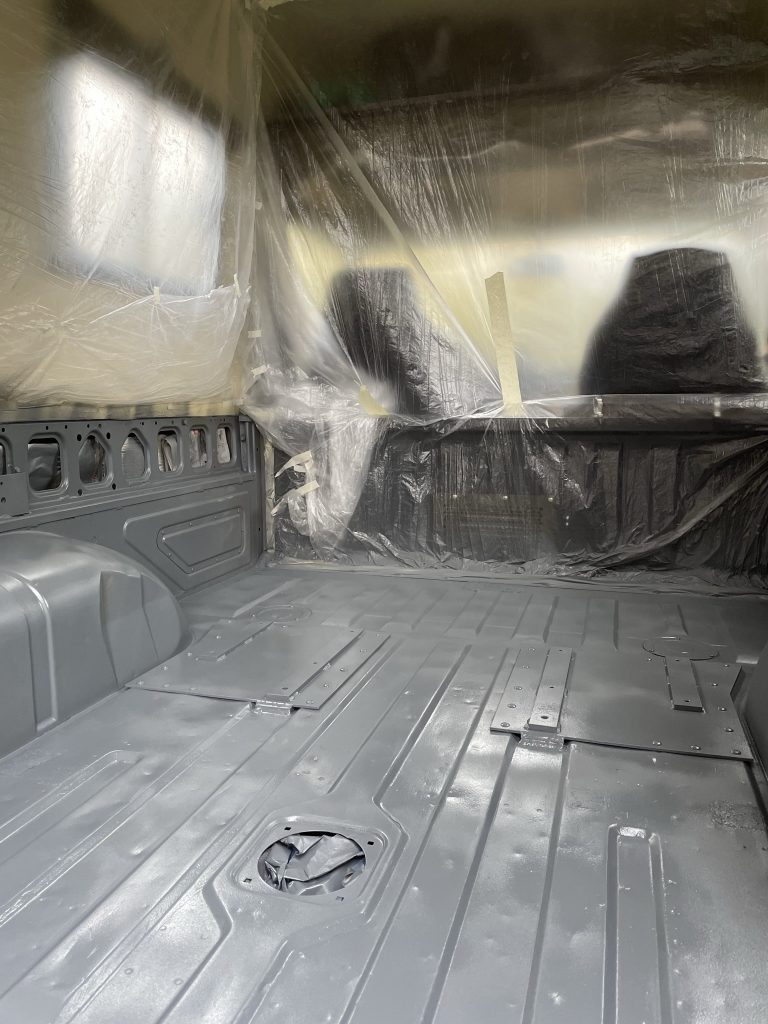
The floor and the lower part of the side walls are made of metal. To our delight, we only find very few and very small rust spots. We sand these generously and treat them with rust converter. Then we sand the entire floor and clean it to prepare it for the new paint. We paint the floor with Brantho Korrux 3 in 1 corrosion protection paint*, which is a very durable paint, making it especially suitable for commercial vehicles.
The paint can be applied with a roller or brush, or diluted with a spray gun. We opt for the latter – on one hand, because when spraying the paint it can be applied thinner, thus drying faster and can be overpainted sooner, and on the other hand, we were eager to test using a spray gun. In total, we spray the paint in 4 layers. We are satisfied with the final result. A professional would have achieved a more even finish, but for our first time, it's quite presentable!

The Insulation – Soundproofing and Thermal Insulation
Before we can install a floor, the floor and the outer metal walls must be insulated. We buy Armaflex* in different thicknesses: 19 mm, 9mm, and a 3mm thick Armaflex tape. Before we can glue the Armaflex to the floor, we attach wooden slats to the floor. These serve to later attach the base plate. Insulation with Armaflex is placed between the slats. In most places, we use the 19 mm thick Armaflex, in places that are a bit higher and where 19mm would be too thick, we use the thinner 9mm Armaflex. The tape is used where even the 9mm is too thick and as a means to connect two poor cuts. Armaflex is available both self-adhesive and with separate glue. We opt for the self-adhesive variant for simplicity, and it works flawlessly and is very easy to apply.
Cutting it was initially a bit strenuous. Contrary to expectations, it does not cut well. In the end, it works best with a sharp serrated kitchen knife.


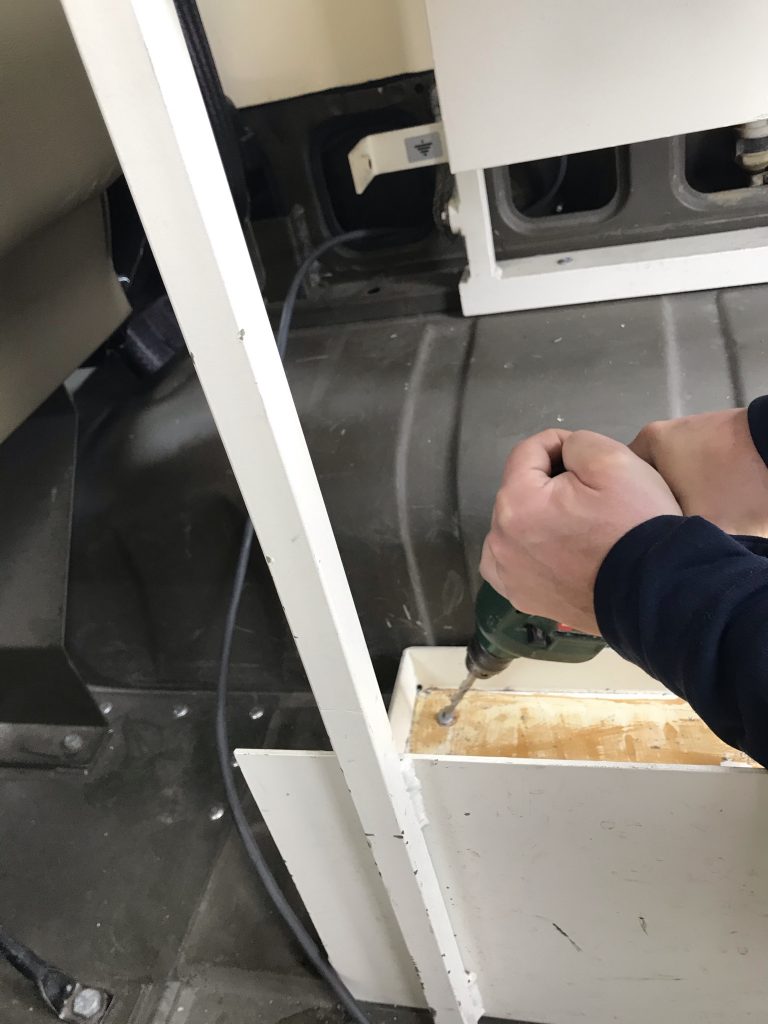
The Base Plate and the Floor
A 12mm thick multiplex bord* from the hardware store serves as the base plate. To cut it to fit, we make a template out of cardboard for the floor. We use this both for cutting the base plate and for the PWC floor* that we glue onto the plate.


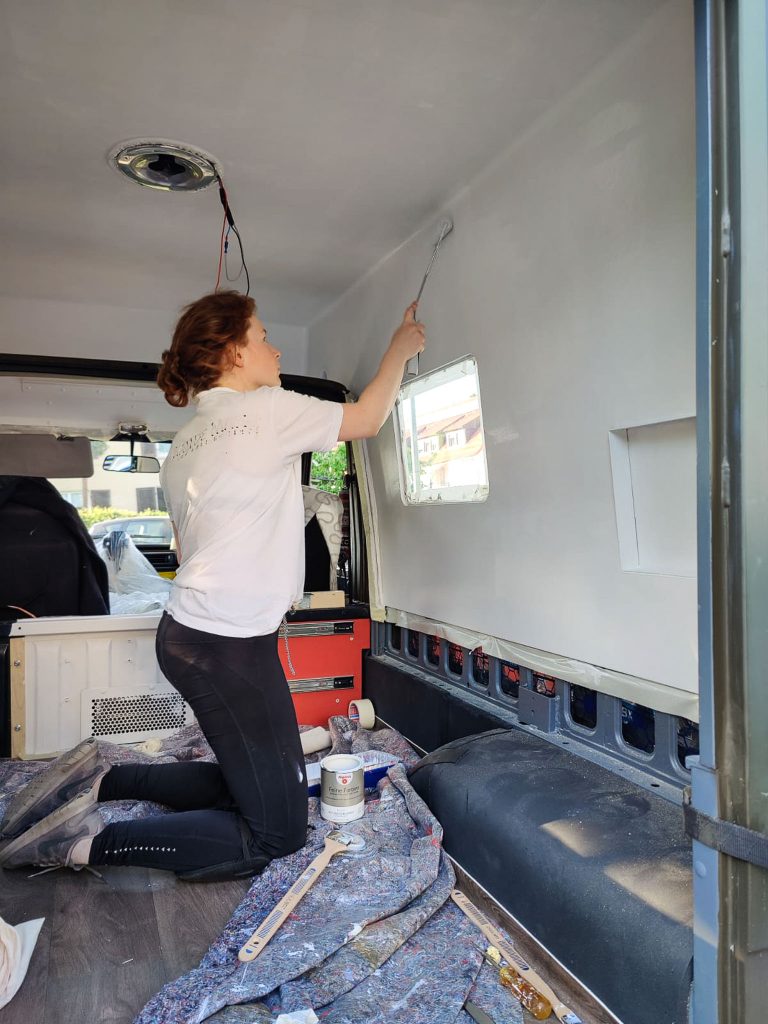
The Wall – Goodbye Eggshell Color
Before we build the furniture, it's finally time to tackle the eggshell-colored wall. Especially for me, it was an eyesore from the start. But before I can paint it, the many plastic strips on the wall need to be removed. They seem to have been attached with some bomb-proof adhesive. I spend several hours with a spatula and solvent scraping the glue off the walls.
In the next step, we lightly sand the wall before priming with Alpina Fine Paints Primer* and painting with two coats of Alpine Fine Paints No. 04 – Time of the Ice Flowers.*. To seal the wall and make it more resistant, we apply a coat of Alpina Clear Lacquer for Parquet & Stairs* on top. The paint holds up perfectly even after a year and is very washable. We are still very satisfied after a year. The paint job also contributes enormously to the coziness.