Our Puch has 2 windows in the GFK construction, one sliding window and one window that cannot be opened. Unfortunately, especially the sliding window is no longer watertight and urgently needs to be replaced. Therefore, we decide to tackle the window installation in our camper ourselves. Cutting a hole into the vehicle's wall is thrilling and initially requires some courage, but in retrospect, we can say it was less complicated than expected. To make it easier for you, you'll find an overview below of what you need for the window installation and how to proceed step by step during the installation.
Note: Links marked with an * are affiliate links. If you purchase something through this link, we receive a small commission. The price remains the same for you.
Window Selection
For campers, there are mainly two types of windows: sliding windows and awning windows. We decide to install an awning window because it can be slightly opened even during light rain, allowing for better air circulation in the camper during bad weather.
Bei der Recherche stellen wir fest, dass die Fenster einiges teurer sind, als wir erwartet hätten. Die Preisspanne zwischen den einzelnen Herstellern ist zwar groß, aber diese schlägt sich auch in der Ausstattung der Fenster nieder. Wir entscheiden uns für das Dometic S4 Ausstellfenster*. Dieses gehört zwar zu den teuersten, überzeugt uns jedoch aufgrund der zahlreichen positiven Bewertungen sowie dem integrierten Mückennetz und der integrierte Jalousie, welche sich stufenweise verstellen lassen.
Tools and Materials for Window Installation in the Camper
Für den Einbau deines Fensters benötigst du die folgende Werkzeuge und Utensilien:
- Jigsaw
- Jigsaw Blades
- File
- Safety glasses and dust mask
- Tape measure and pen
- Drill
- New window
- Wooden stats for the frame
- Dekaseal
- Mounting adhesive
- Painter's Tape
- Cover sheets
Wooden Frame
The Dometic S4 window is designed for a wall thickness of 26mm. If your camper's wall is thinner or thicker, you'll need to build a support structure for installation. Most likely, your wall will be thinner, so you'll need to create a wooden frame to achieve the necessary 26 mm thickness, to be placed between the camper's inner wall and the interior window frame. Dometic provides a table to determine the correct thickness for your frame. Our wall is 23mm thick, so we needed a 3mm thick frame, which we made from a thin plywood sheet.
Marking the Cutout or Template
The newly made wooden frame serves well for marking the cutout on your van's wall. We marked and sawed from the outside, but it's also possible from the inside. Double-check the measurements are correct before you start cutting. Better safe than sorry!
Taping
Cutting GFK produces a lot of dust, which we want to keep out of the interior as much as possible. If your wall is made of metal, it's also important to catch the metal filings, as they can rust easily. Therefore, tape your cut line with painter's tape. Inside, set up a plastic protective structure to catch flying dust.
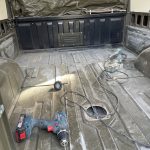
Drilling Holes and Cutting the Cutout
When cutting out the section, it's advisable to wear a mask and possibly safety glasses. After marking the cutout, use a Ø24 hole saw to drill 4 holes in the wall. These serve both to get the jigsaw into the corners and to ensure the correct rounding of the corners.
Once you've drilled all four holes, you can start sawing. For sawing, it's best to use a jigsaw with a suitable blade. Initially, we used a metal saw blade, which became dull after just a few centimeters. We then switched to the Bosch Expert Carbon Fiber Clean to cut our GFK wall, which allowed us to make the cut relatively quickly.
Test if the window fits into the cutout. The window should be inserted easily without much pressure. Adjust if necessary.
We read on various blogs "better to cut out a bit more." In hindsight, we can confirm this, as we had to do quite a bit of filing until the window fitted into the cutout.


Gluing the wooden Frame
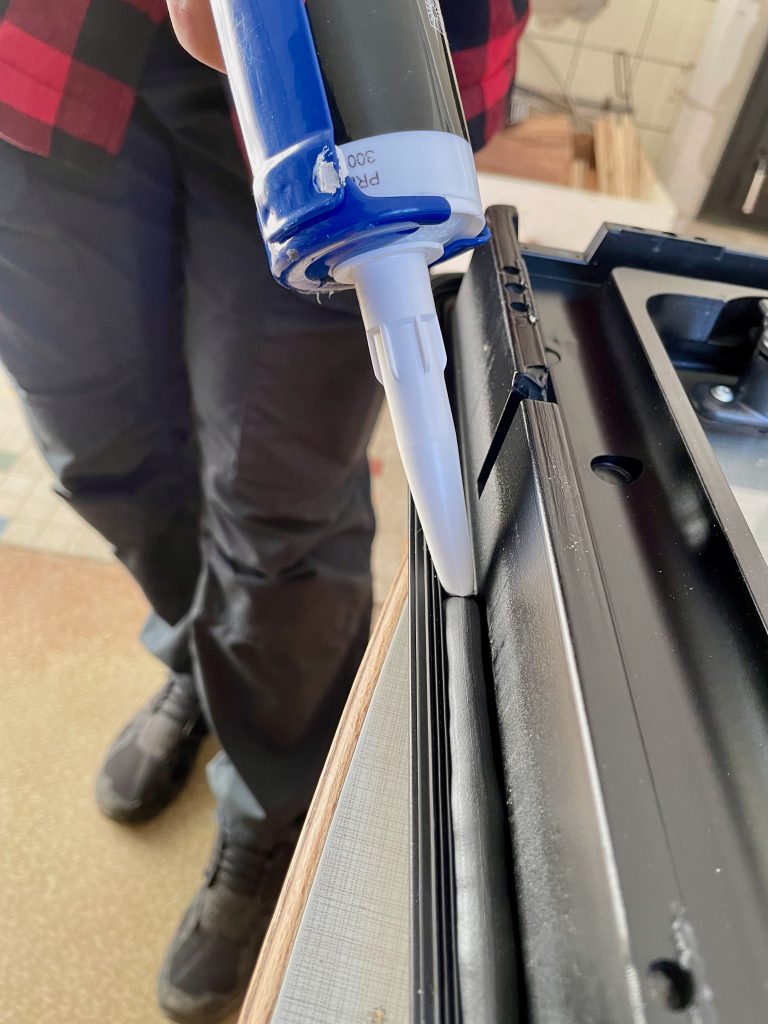
This step is best done with two people. Apply a thumb-thick bead of Dekaseal to the outer frame of the window and carefully place the window into the cutout. While one person holds the outer window in place, install the interior window and screw it in with the provided screws. Make sure not to overtighten the screws (torque 3Nm). Check if the blind and mosquito net roll up and down smoothly. If not, the screws may be too tight.
Gluing the Window
This step is best done with two people. Apply a thumb-thick bead of Dekaseal to the outer frame of the window and carefully place the window into the cutout. While one person holds the outer window in place, install the interior window and screw it in with the provided screws. Make sure not to overtighten the screws (torque 3Nm). Check if the blind and mosquito net roll up and down smoothly. If not, the screws may be too tight.
Dekaseal should now be oozing out the sides of the outer window. That's good. Dekaseal takes about 3 days to dry completely, remaining permanently elastic.

Drying and Removing Excess Sealant
It takes about 3 days for the sealant to dry completely. After that, the extruded beads can be easily removed.
Our Conclusion on Window Installation
Even though it's a bit scary to cut a hole in the wall at the beginning, in the end, it's not so bad. The window holds and everything is watertight. We are very satisfied with it. Even in light rain, we can leave the window open, and we're glad we purchased a window with a mosquito net.